
Freezing and Unmoulding Mousse Cakes with Kirsten Tibballs | Chocolate Book
Video by Kirsten Tibballs
For more information and access to over 400 step-by-step recipes and tutorials you: www.savourschool.com.au/online-class-subscription/
I'm gonna show you how to assemble a mousse cake.

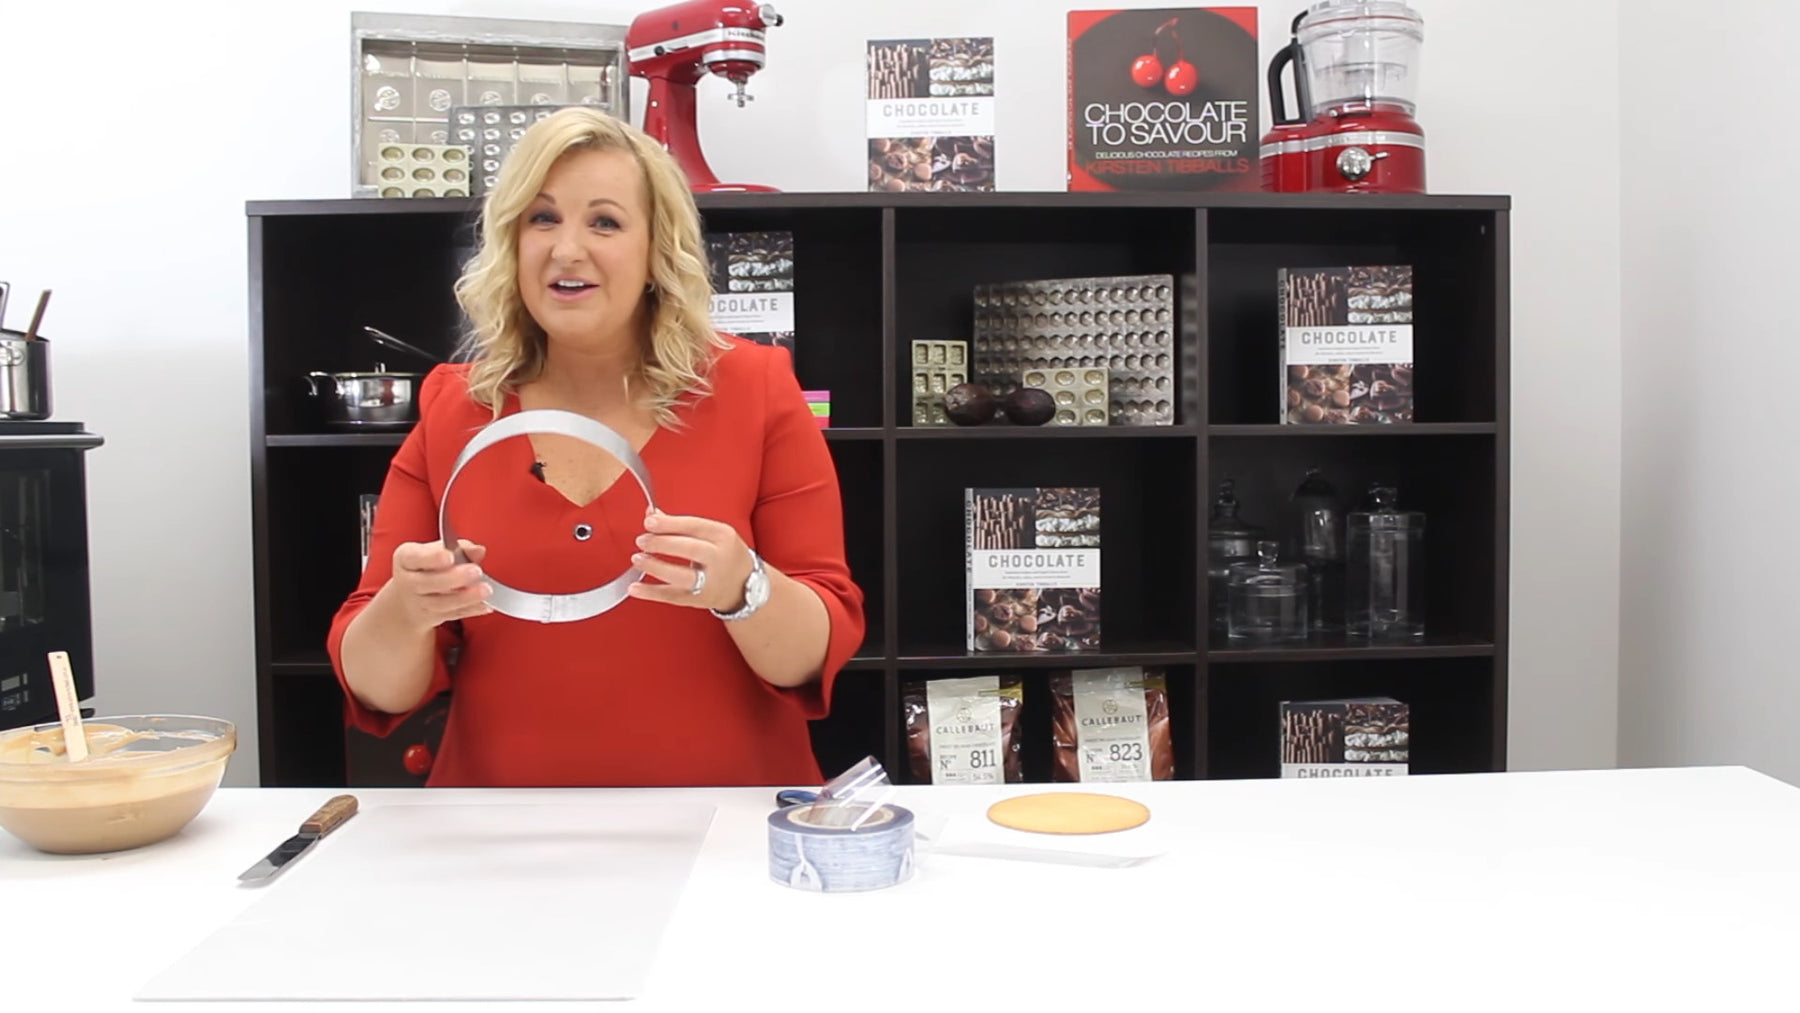
When assembling a mousse cake I like to use a ring rather than something that has a base on it like a cake tin because it's much easier to remove the mousse cake without damaging it at all. So we like to keep it nice and straight and even.
The first thing you can do is just use the ring on its own and not line it. And then to remove the mousse cake former, you will need to apply some heat to the exterior of the ring either with a blowtorch, a hairdryer or some really hot tea towels wrapped around it.

And then that will melt the small layer of mousse on the outside and enable you to slide the ring off. The second option is to spray the ring with vegetable spray and dusted with the icing sugar.
The icing sugar that doesn't freeze so it creates a layer between the ring and the mousse cake which makes it quite easy without any heat to actually put the mousse out.
The last option is to actually use plastic so this is called acetate. Any sort of smooth plastic works and this is great because you can wash it off and reuse it and we just trim that to ensure that it overlaps and we line the cake ring with it.

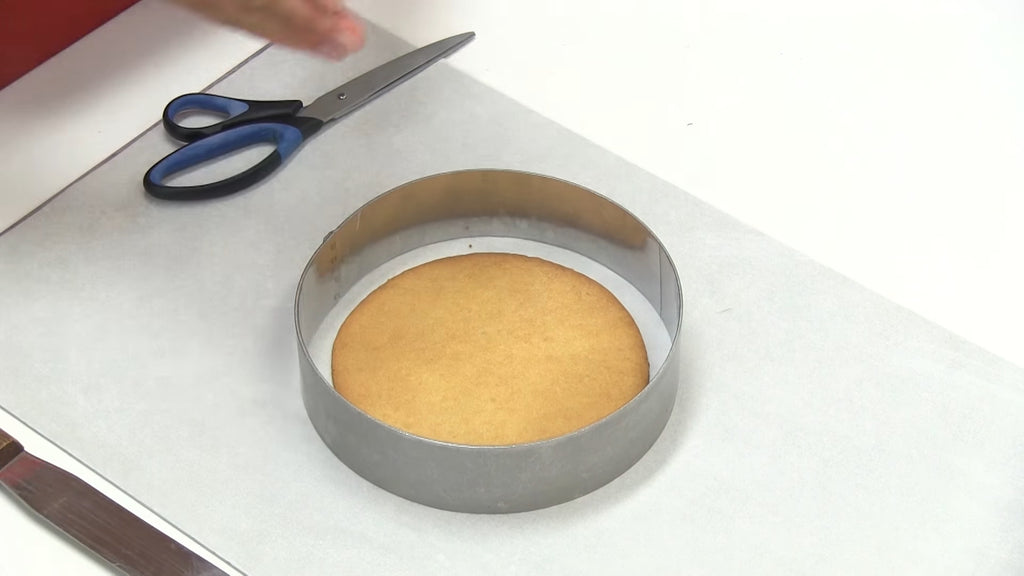
I'm going to put in a shortbread base. Make sure that it doesn't go right to the sides of the cake ring. So you've got a little bit of a gap there and so that we've got mousse going flush right through to the bottom.
I've got some milk chocolate mousse that I'm going to add in on top of the shortbread just about halfway out.

The next step is to wipe this up the sides of the ring to ensure that we don't get any air bubbles. So just with a spatula or a back of a spoon, a dessert spoon, just wipe it up the side and this is going to ensure very smooth sides on the sides of our mousse cake.

We're now going to place an insert or a layer in the center to break up the mousse before continuing on with the mousse layer. I have a frozen passion fruit insert that I'm placing in. We just press it down so that we ensure that it's completely level, then we're going to cover it with the remainder of our mousse.
The mousse is very level at this stage. We put it in straight in the freezer for about six hours till it's frozen solid then we're ready to unmold.

Once your mousse cake is frozen and it may vary how long that takes depending how often your freezers opened and closed. Remove it from the tray and we're going to remove it from the ring.
To do that, I'm going to place it on a cup and I'm going to just gently slide the ring down.
On mine, I have a plastic strip so I'm just going to remove that plastic strip. And we're left with the frozen mousse cake ready for garnishing and decorating.
You can also watch this video on Youtube.
Leave a comment